Select your project invoice layout: File Explorer > Layouts .
 .
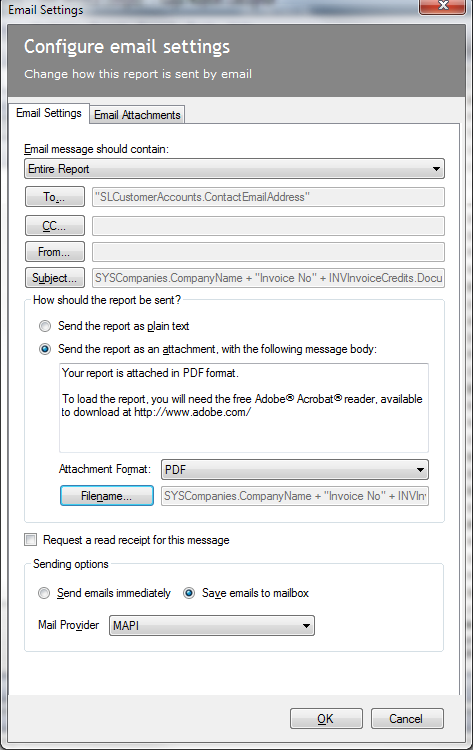
.Enter your email options:
-
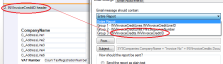
From the: Email message should contain drop-down list, choose the group that matches the header section of the invoice layout.
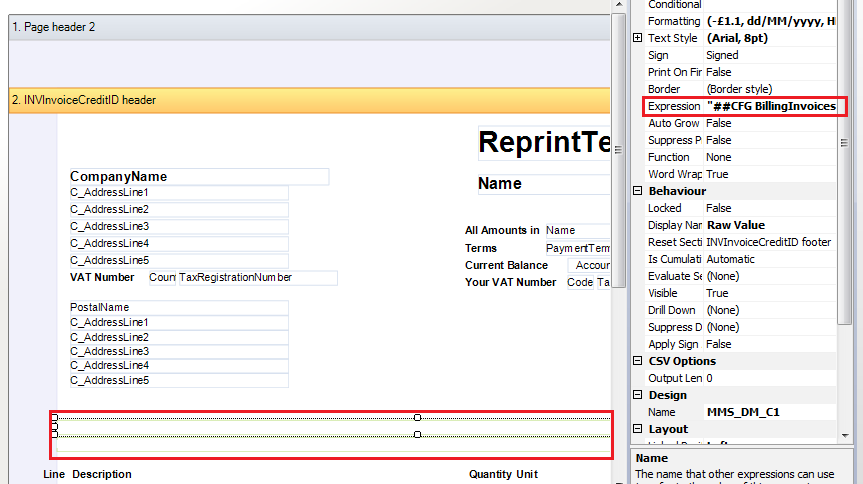
For the INVInvoice (Single) layout, select the group that contains INVInvoiceCredits.INVInvoiceCreditID.
-
Click To....,and add the required recipients. To send your project invoices to the preferred contact for each customer, add the SL Customer Accounts > ContactEmailAddress expression.
See how to add this expression-
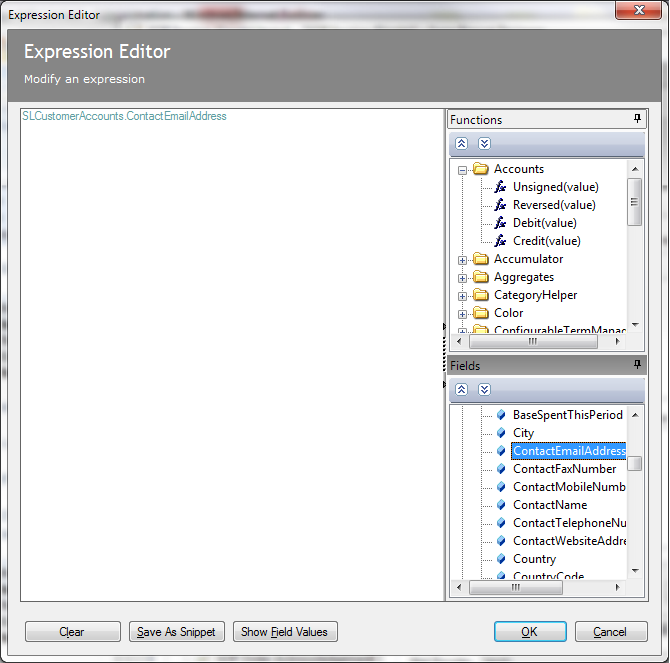
In the Expressions section, click Add .

-
Drag the following from the Fields pane to the Expression Editor section:
SL Customer Accounts > ContactEmailAddress.
- Click OK.
To copy this expression from a text file, click here.
-
-
If required, click CC... to enter the recipients for a copy of the email.
These can be entered as text or as an expression.
-
Enter a Subject for the email.
This can be entered as text or you can use an expression to include information such as your company name and the invoice number.
See how to add this expression-
Click Subject.
-
Drag the following from the Fields Pane:
SYSCompanies > CompanyName.
-
In the Expression Editor, enter + "Invoice No:" +
Note: To add more than one expression use + or and. If you want to include text with an expression use "quotation marks" around the text.
-
Drag the following from the Fields pane:
INVInvoiceCredits > DocumentNo.
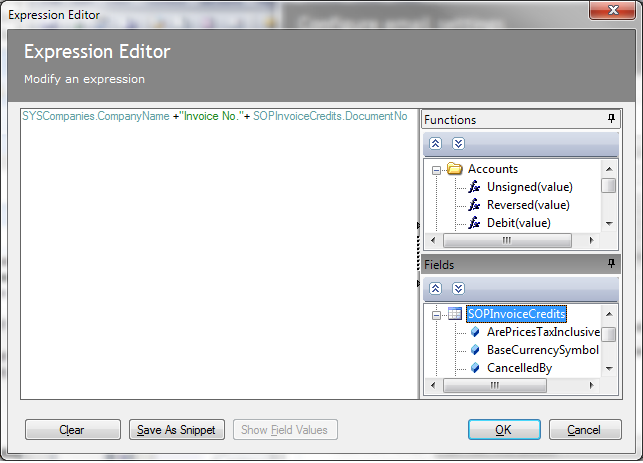
The completed expression should be as follows:
SYSCompanies.CompanyName + " Invoice No: " + INVInvoiceCredits.DocumentNo.
- Click OK.
To copy this expression from a text file, click here.
-
-
Choose whether to send the invoices as plain text or as an attachment.
See how to send as plain textIf you want to send the report as plain text, you may have to amend the layout to make it suitable for an email message, as the layout is designed for printed output.
Note: Some layouts contain text that is designed to be read by a 3rd party document management add on available for Sage 200. This text is not designed to be printed but will appear when the document is sent as plain text. You may want remove this if you are sending your emails as plain text.
See an exampleFor the INV Invoice layout, this text is entered under the postal address:
 See how to send as an attachment
- Enter the required message text.
- Choose the file type that you want to send from the Attachment Format drop-down list.
-
Enter a Filename for the attachment.
You can use an expression for this if you want the filename to include information such as your company name and the invoice number.
See how to add this expression-
Click Filename.

-
Drag the following from the Fields Pane:
SYSCompanies > CompanyName.
- In the Expression Editor, enter + "Invoice No:" +
-
Drag the following from the Fields pane:
INVInvoiceCredits > DocumentNo.
The completed expression should be as follows:
SYSCompanies.CompanyName + " Invoice No: " + INVInvoiceCredits.DocumentNo.
- Click OK.
To copy this expression from a text file, click here.
-
- Choose whether to send the invoices via email straight away or to your outbox for checking before sending to email recipients.
-
Choose your email account provider.
Microsoft Outlook Select this if you are using Microsoft Outlook 2003, 2007 or 2010. SMTP Select this if you send email using an SMTP provider such as Hotmail, Gmail or Yahoo Mail.
MAPI Select this if your email application uses a MAPI (Outlook / Exchange) mail server. Note: You can set up a default email provider for all reports in Report Designer > Tools > Options | Email Setup.


To save the new invoice layout, select File > Save As.
When you change a default layout, letter or report, you must save the new layout, letter or report in the custom or company folder.